 Golf Course Review by: Billy Satterfield
Rankings:

The Takeaway: The famed championship course of the Show Me State, Bellerive is typical of what you’d find at a major championship venue with a testing layout featuring straight forward strategy but is devoid of architectural character or intrigue. Grade B+
Quick Facts
Designer: Robert Trent Jones Sr. 1960/Rees Jones 2007 & 2011
Cost: Private
Phone Number: 314-434-4400
Course Website: Official Website - Visit Bellerive Country Club's official website by clicking on the link provided.
Directions: Get here! - 12925 Ladue Road, St. Louis, Missouri 63141 – UNITED STATES
Photos: See additional photos of Bellerive Country Club
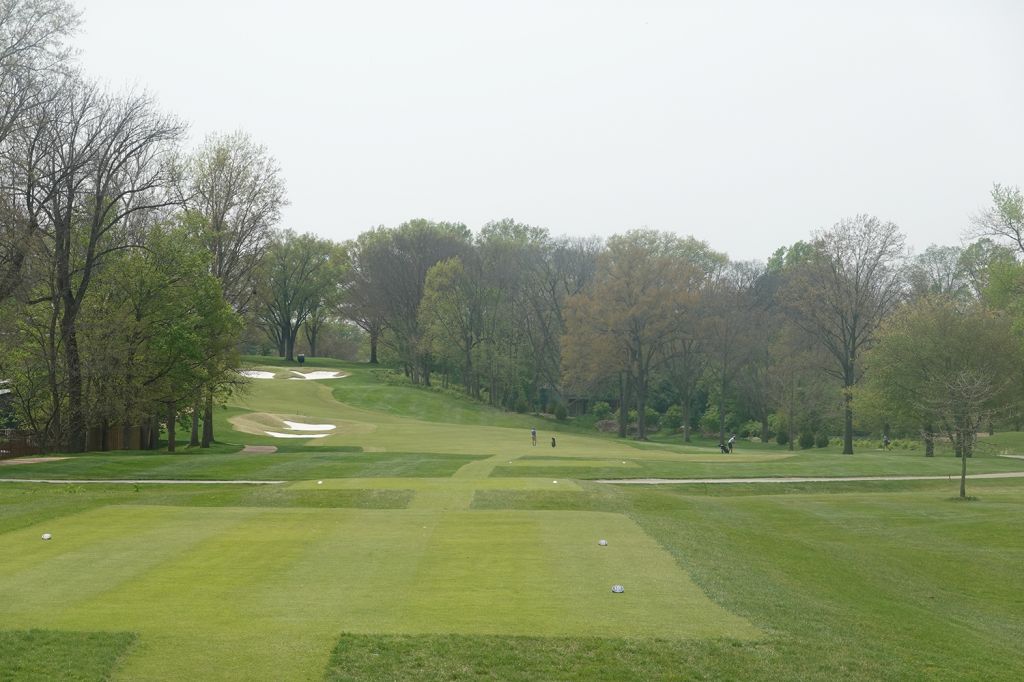
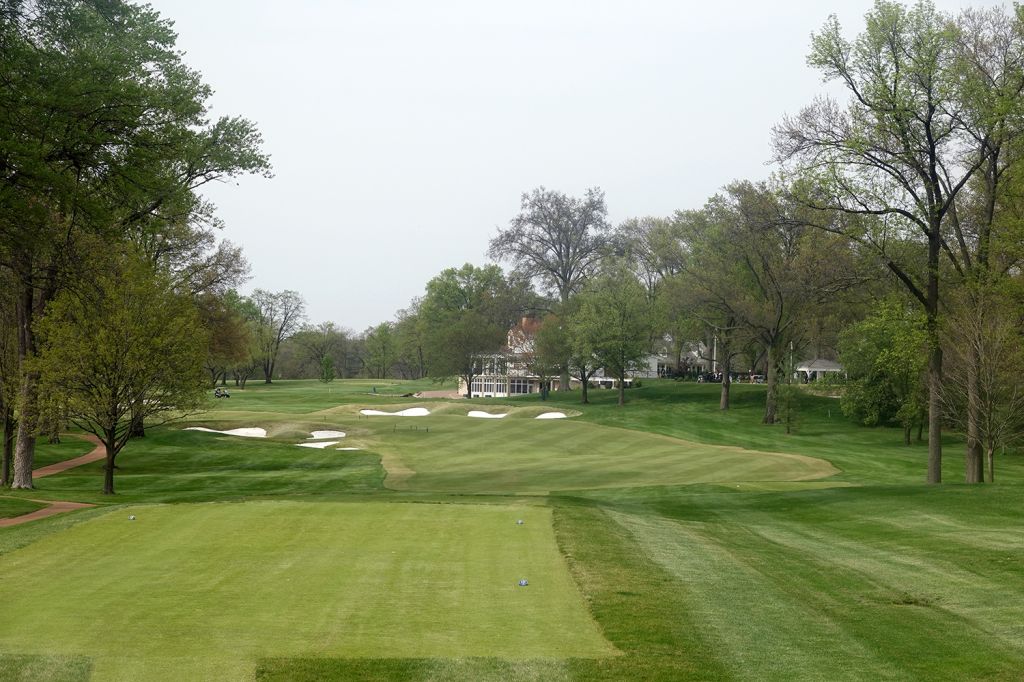
What to Expect: Bellerive Country Club is the most famous course in the Show Me State given its history of hosting major championships; namely the 1965 U.S. Open as well as the 1982 and 2018 PGA Championships. The Robert Trent Jones layout has been touched up by Rees Jones over the years with the goal of what “The Open Doctor” is always brought in for; to get the course ready to host a major championship. As such, Bellerive is typical in the layout and strategy that you’d find at a course that is the venue for the best players in the world. There will generally be bunkers on each side of the fairway 280 - 320 yards from the back tees, no hidden or blind shots, straight forward strategy, and nothing too crazy on the greens. The result is a great test of skill, but very little character or architectural intrigue to enjoy. That isn’t too say Bellerive isn’t a good course, because it very much is, it just lacks the character and architectural chops that the elite courses in the world enjoy. The track enjoys some nice rolling terrain to increase the interest level and keep players on their toes with club selections and shot shapes. Carts are available to scoot around the course in or you can soak in the experience by taking a walk with a caddie. Ultimately, Bellerive is designed to be a strong test and it accomplishes that. It lacks the charm of America’s bucket list courses, but is certainly among the elite to play in St. Louis.
By the Numbers
| Tees | Par | Yardage | Rating | Slope |
|---|---|---|---|---|
| Black | 72 | 7460 | 76.3 | 146 |
| Gold | 72 | 7365 | 75.7 | 142 |
| Blue | 72 | 6871 | 73.7 | 140 |
| Green | 72 | 6408 | 71.7 | 137 |
| White | 72 | 6023 | 70.0 | 131 |
| Silver (Women) | 72 | 5529 | 73.0 | 133 |
| Red (Women) | 72 | 5100 | 70.6 | 129 |
Individual Hole Analysis
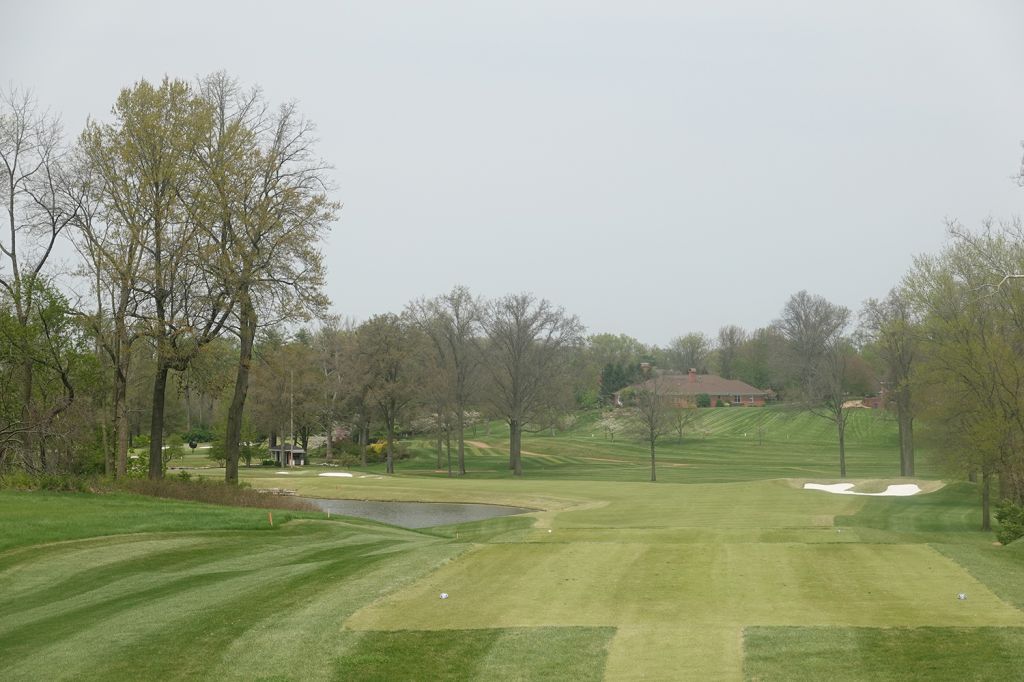
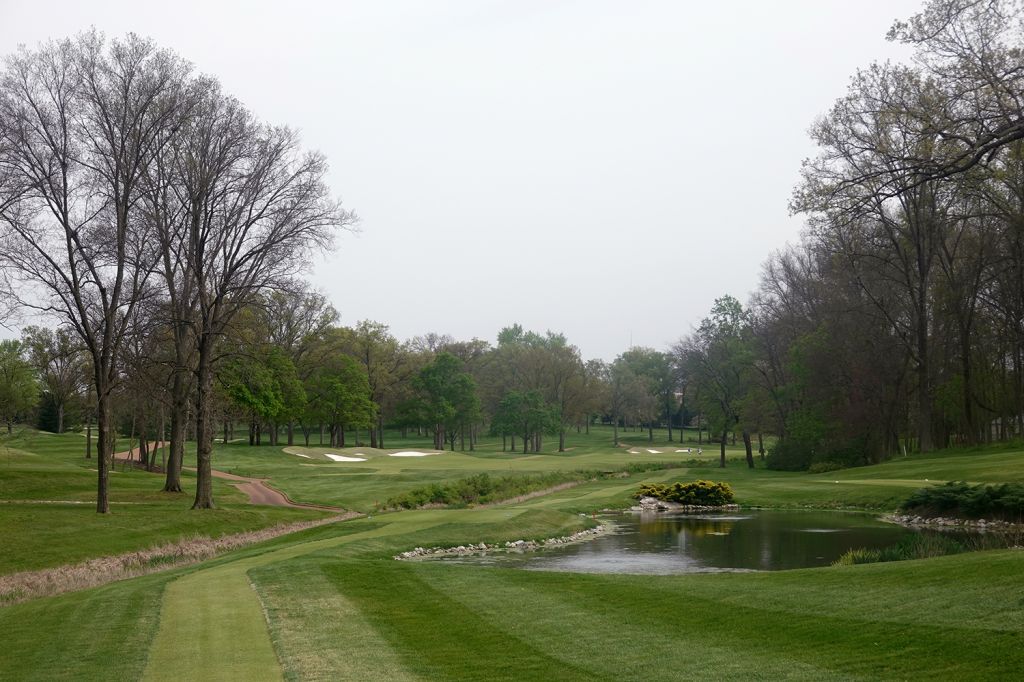
Signature Hole: 2nd Hole – 411 Yard Par 4 – A hole that saw some of the biggest changes during the 2006 renovation, the 2nd hole now stands out as one of the most dramatic on the course. From the tee, the right half of your vision is fairway while the left side is all water. If you are thinking of bailing out to the right though you'll find a large fairway bunker waiting to catch your tee shot and you'll also find yourself further from the green as the hole doglegs left around the lake. The water continues up the left side hugging the green and posing a threat at all times; quite the challenge to throw at golfers early in the round.
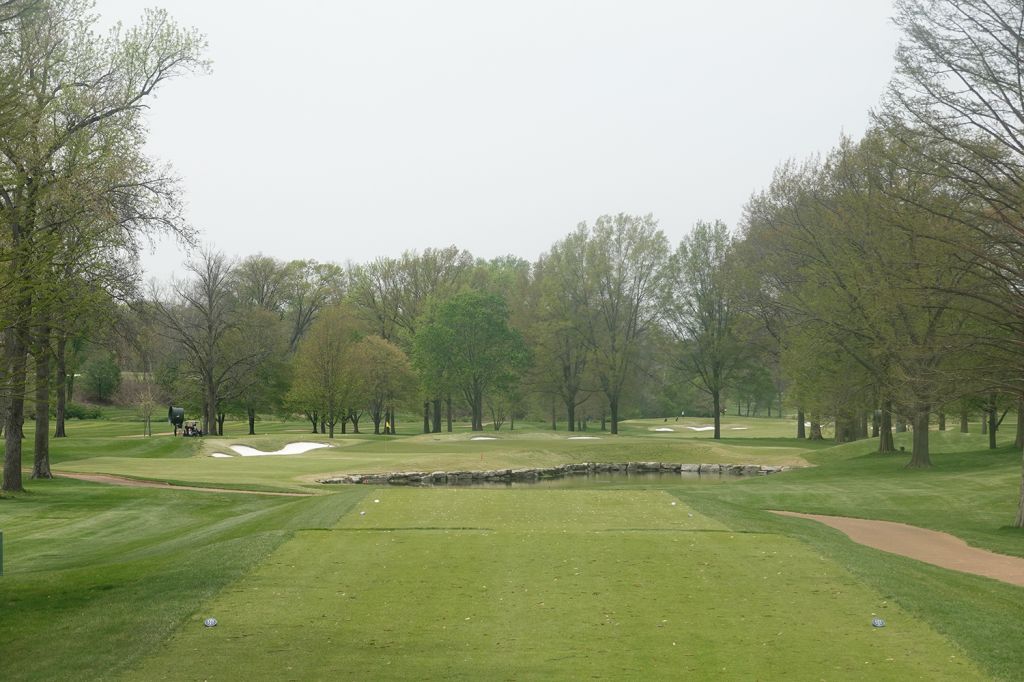
Best Par 3: 6th Hole – 214 Yards – A hole that has consistently played as the most difficult on the course during championship play, this one-shotter played just over a full stroke over par for the field during the 1965 U.S. Open and a stroke average of 3.35 during the 2018 PGA Championship. A pond flanks the right side of the green and proves to be an unforgiving destination while the left side is laced with white sand. The tee shot plays a bit downhill and the green isn't near as big as you'd expect on such a lengthy and demanding shot. This is a classic "beauty and the beast" scenario where walking away with a par can't help but put a smile on your face.
Best Par 4: 18th Hole – 462 Yards – Any championship course worth its salt features a closing hole worthy of testing the best players in the world when the pressure is on, and Bellerive doesn't disappoint. Tipping out at 462 yards, the 18th features enough length to be a concern and a trio of bunkers surrounding the driving zone to make sure players have to hit the fairway to end with success. The fairway doglegs left before terminating at a green protected by an additional four bunkers. There is nowhere to hide on this hole, you just have to man up and play your best golf to walk away with a par here.
Best Par 5: 17th Hole – 603 Yards – Bellerive's final par five features a narrow fairway with two bunkers on the left side. The closer you get to the green the more the amount of sand you'll encounter increases. Five bunkers await on your approach to the green with two of them sitting deceivingly short of the putting surface and can cause problems for players trying to layup short of the green. When attacking the putting surface players should respect pin positions in the right front as well as the back of the green as any shot that hangs out to the right will likely tumble into the creek that meanders along the entire right side of the hole. This can be a scoring opportunity late in the round, but bogies are more common than birdies given the amount of trouble to avoid.
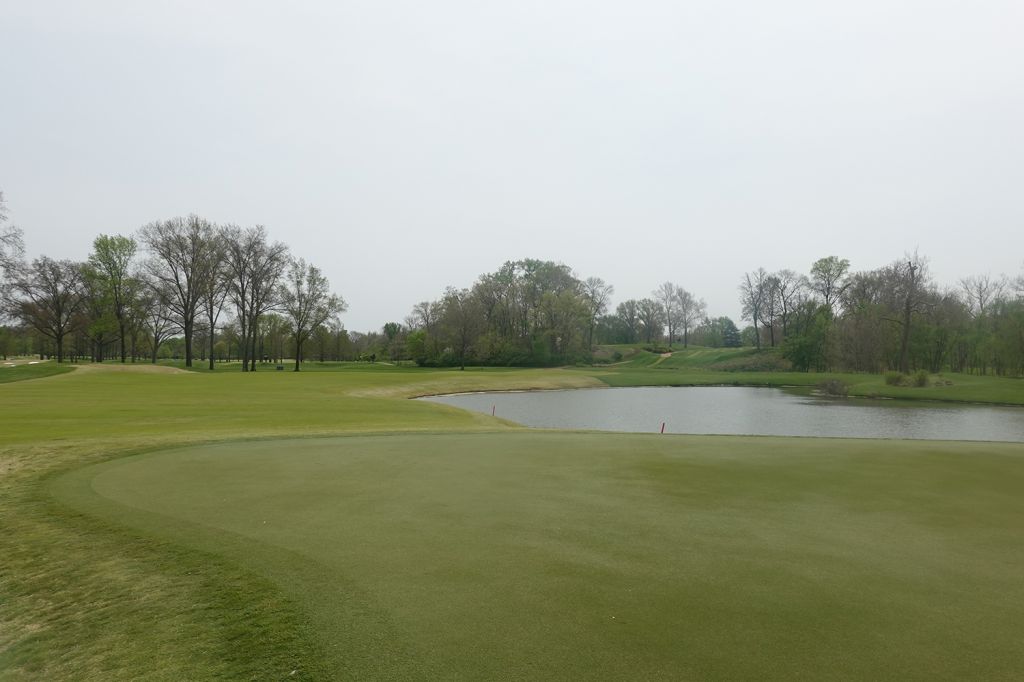
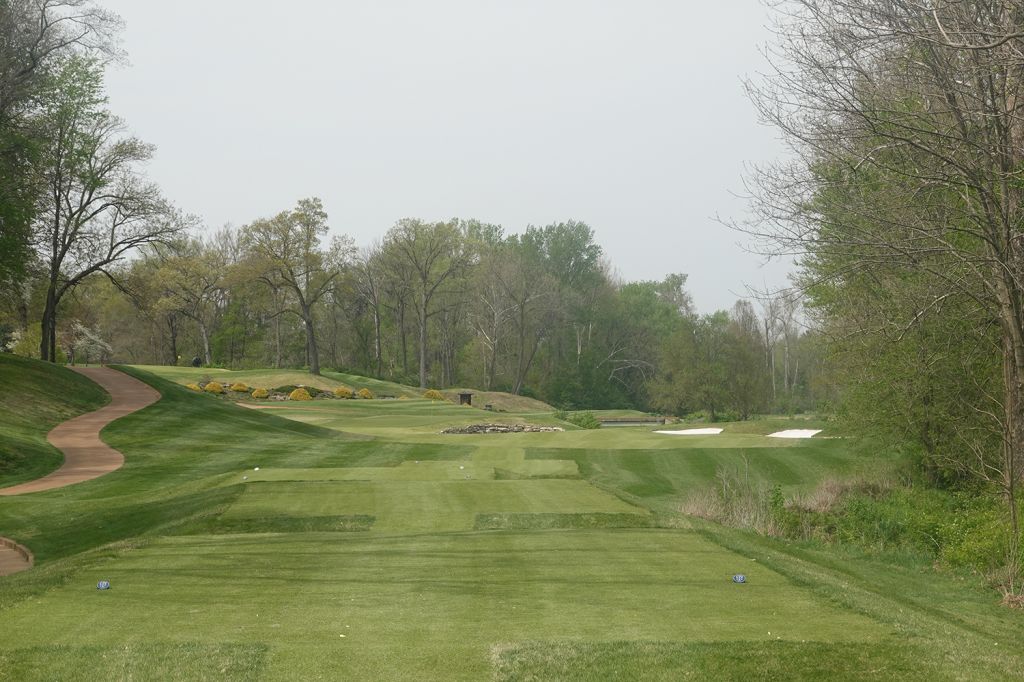
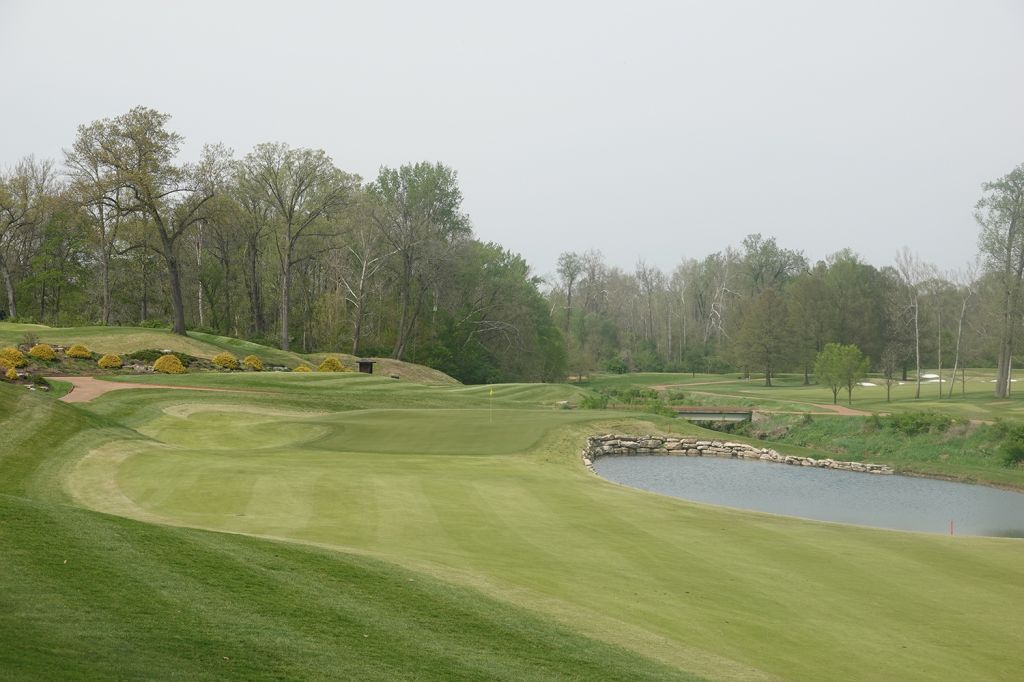
Birdie Time: 11th Hole – 358 Yard Par 4 – Easily the shortest non-par three on the course and featuring just one bunker, the 11th provides a tremendous scoring opportunity on a course that mostly feels like you are holding on. The biggest factor to take into account is the pond protecting the front right of the green. If you layup off the tee then you can take dead aim with a wedge and not even worry about the water. If you try to drive the green then you'll want to stay left and take your chances getting up and down for birdie rather than flirt with the water. No matter the strategy, take advantage of this hole before Bellerive comes back punching again.
Bogey Beware: 9th Hole – 437 Yard Par 4 – There is no shortage of difficult holes at Bellerive, but wrapping up the front nine may prove to consistently be the most challenging of all; especially for the average player. The tee shot needs to avoid the two bunkers on the left side of the fairway, but going too far right can prove disastrous given the slope of the terrain moves balls right towards the rough and away from the green. As the fairway bends left it ascends to a greensite protected by a trio of bunkers and plays well uphill with shots that come up short capable of tumbling back down the short grass. Greens in regulation are a rarity here, so if you are going to avoid a bogey it will likely be with some deft touch with your short game.