 Golf Course Review by: Billy Satterfield
Rankings:


The Takeaway: Unquestionably one of the best conditioned courses in the country, Keith Foster’s flagship design is also the best track in Iowa. With great variety in the design and engaging terrain, few weaknesses exist at this Midwest treasure that converted to a private club in 2019. Grade A
Quick Facts
Designer: Keith Foster in 2000
Cost: Private
Phone Number: (641) 227-4653
Course Website: Official Website - Visit The Harvester Club's official website by clicking on the link provided.
Directions: Get here! - 1102 330th St, Rhodes, Iowa 50234 – UNITED STATES
Photos: See additional photos of The Harvester Club
What to Expect: The Harvester opened in 2000 and soon thereafter started showing up on lists ranking the top 100 public courses in America. But being one of the best public courses wasn't enough for owner Dickson Jensen, he wanted The Harvester to be one of the best courses in America, period. The course closed in 2017 and Keith Foster was brought back to renovate his design from nearly two decades earlier and reemerge it as one of the elite tracks in the Midwest. In 2019, that mission was accomplished. The Harvester enjoys one of the best parcels of property for a golf course the time zone could ask for and Foster took advantage of it with an exceptional variety of elevations, hole designs, lengths, and tests. Unlike many courses where one nine stands out above the other, Foster's flagship design is equally good from start to finish though it is tough to deny how good of a final stretch Harvester finishes on. From the tips the course is capable of challenging the best players in the world, and like Oakmont, the greens are maintained in exceptional condition and a lightning fast pace. In fact, The Harvester is one of the best conditioned courses in the country; and that includes Augusta National. You'd be hard pressed to find a single blade of grass out of place and the firm conditions provide absolutely ideal turf to play on; something every level of golfer can appreciate. Forecaddies will guide you around the course and the carts are amped up to drive faster than any vehicle you've likely ever experienced on a golf course before, with the only downside being that your time at The Harvester will come to a conclusion sooner than you'd like.
By the Numbers
| Tees | Par | Yardage | Rating | Slope |
|---|---|---|---|---|
| Black | 72 | 7463 | 76.8 | 148 |
| Blue | 72 | 6959 | 74.4 | 143 |
| White | 72 | 6612 | 72.9 | 140 |
| Green | 72 | 6175 | 70.7 | 137 |
| Red | 72 | 5643 | ||
Individual Hole Analysis
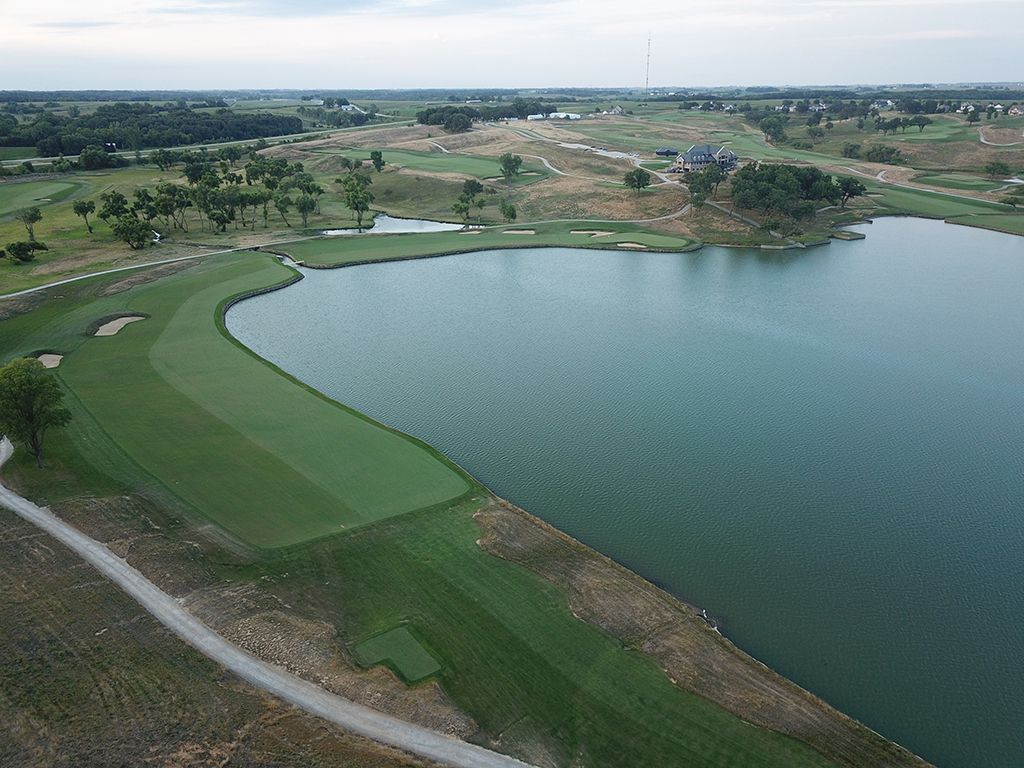
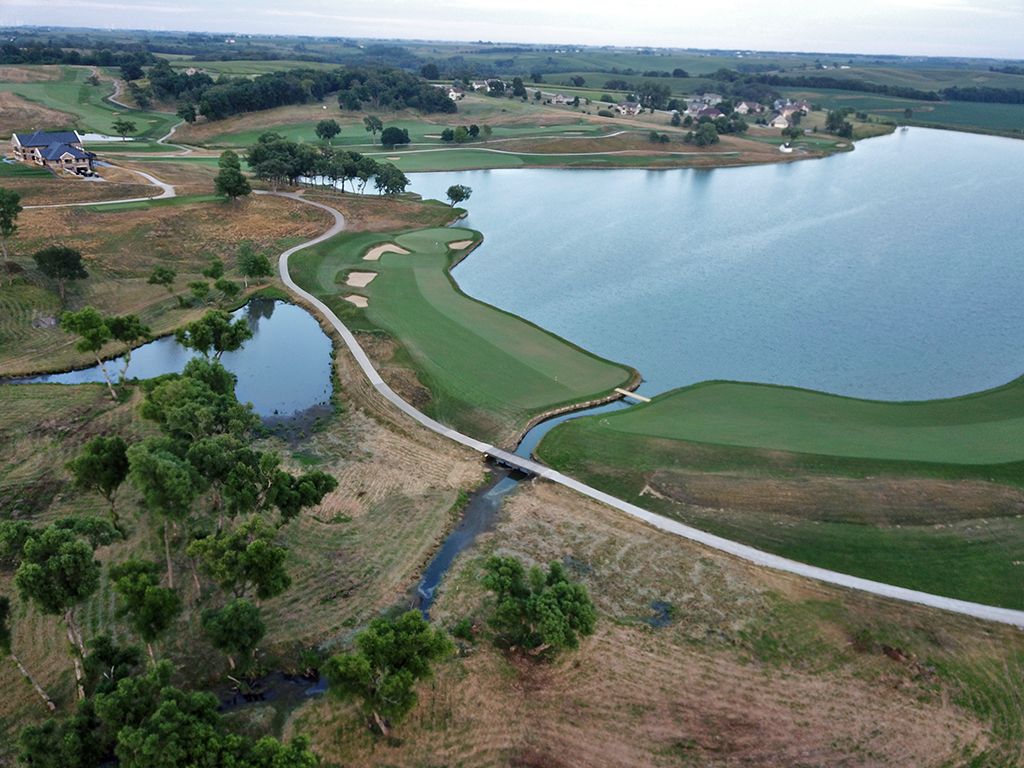
Signature Hole: 18th Hole – 560 Yard Par 5 – The Harvester keeps your attention all the way to the last shot and does so with this sweeping dogleg around the water. Driver may not be the play as bunkers come into play 265 yards away on the left side of the fairway before the short grass starts bending right. Tee shots that find the fairway will be left with 200 - 235 yards to the front edge of the green if they take the line directly over the water, but there is no forgiveness with this shot so you better flush it. If you choose to layup, you must decide whether you want to come up short of the creek that bisects the fairway 170 yards from the green or if you are going to carry it and leave yourself a shorter approach into the putting surface. This is a killer risk/reward hole that can make or break your round at the very last moment.
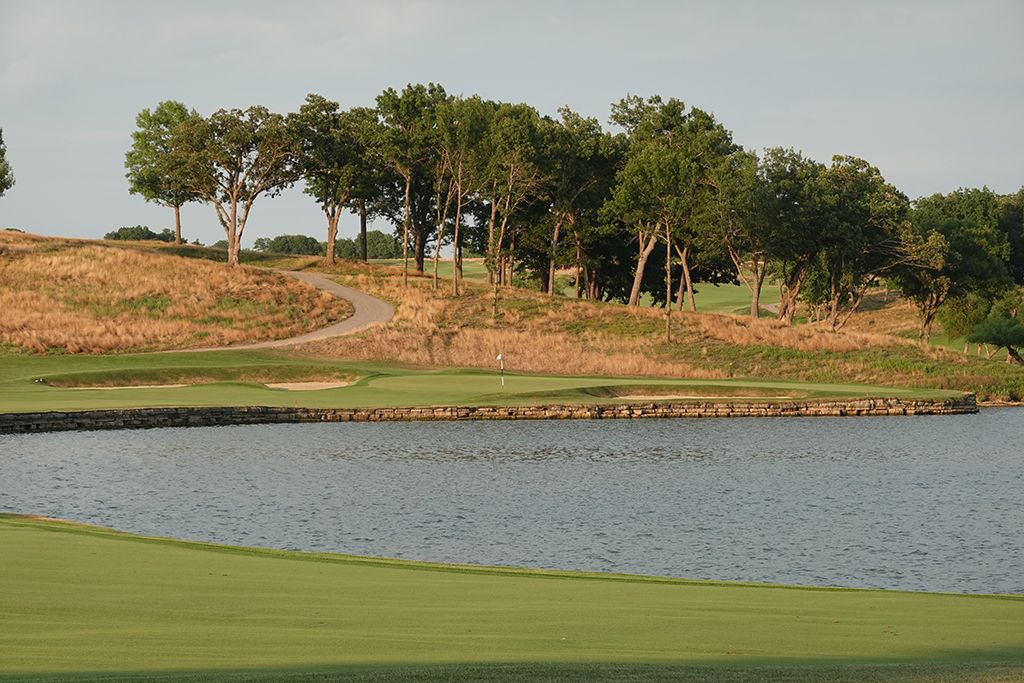
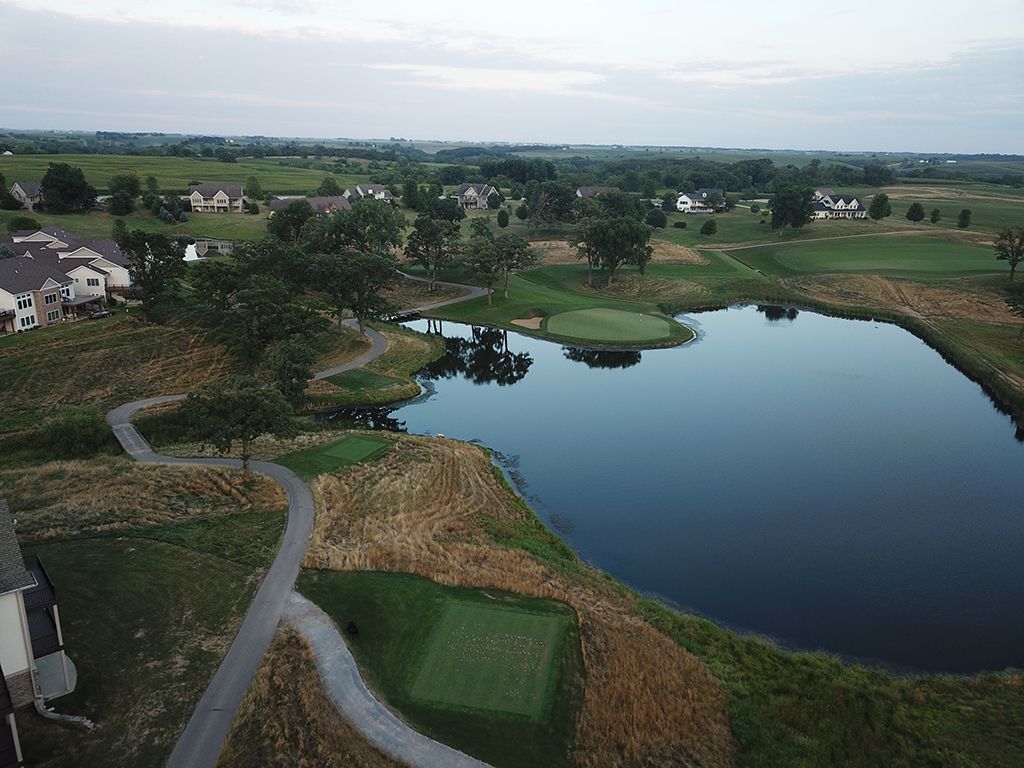
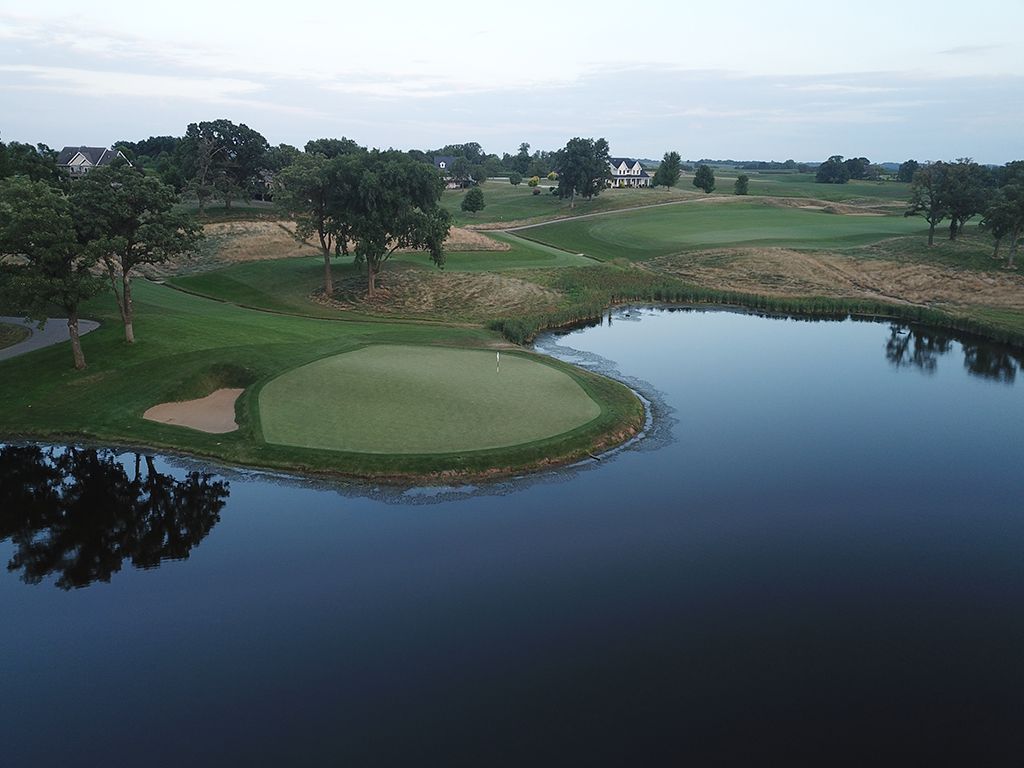
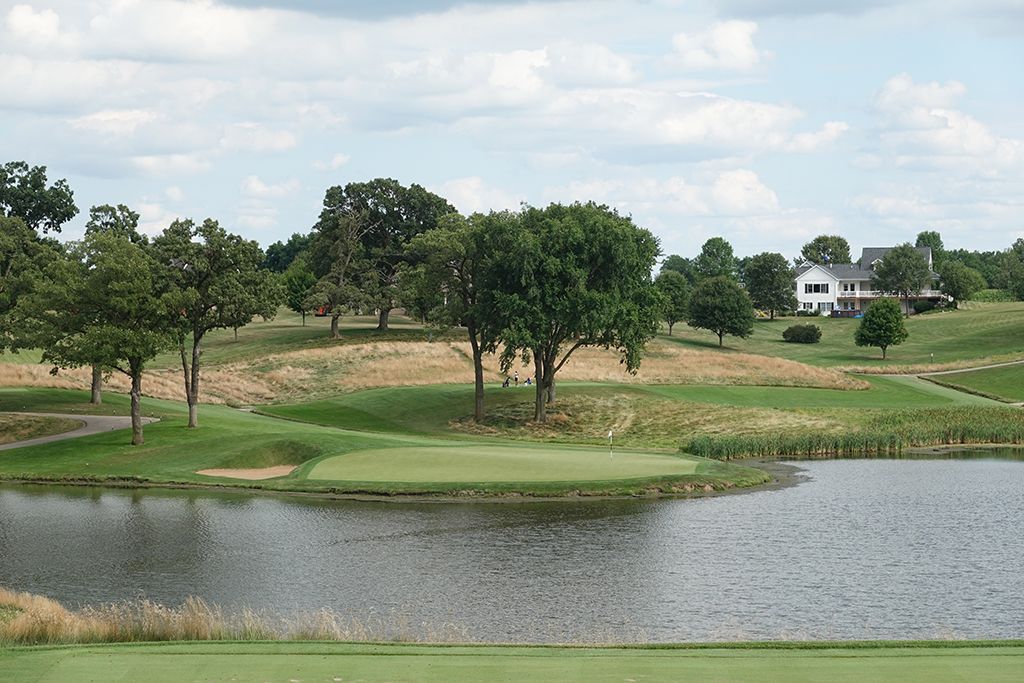
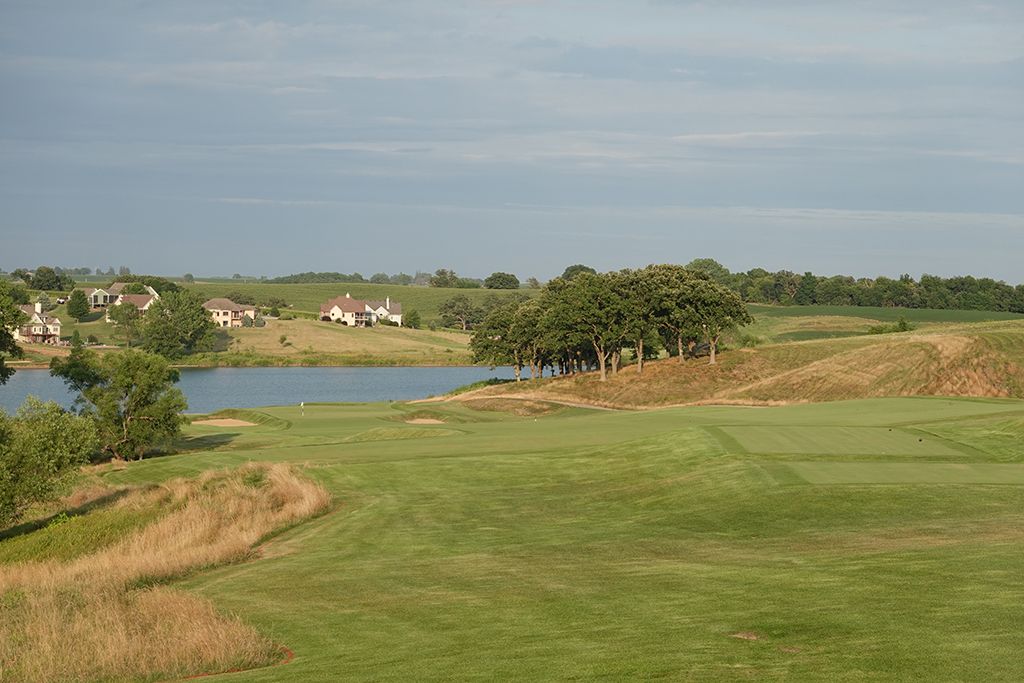
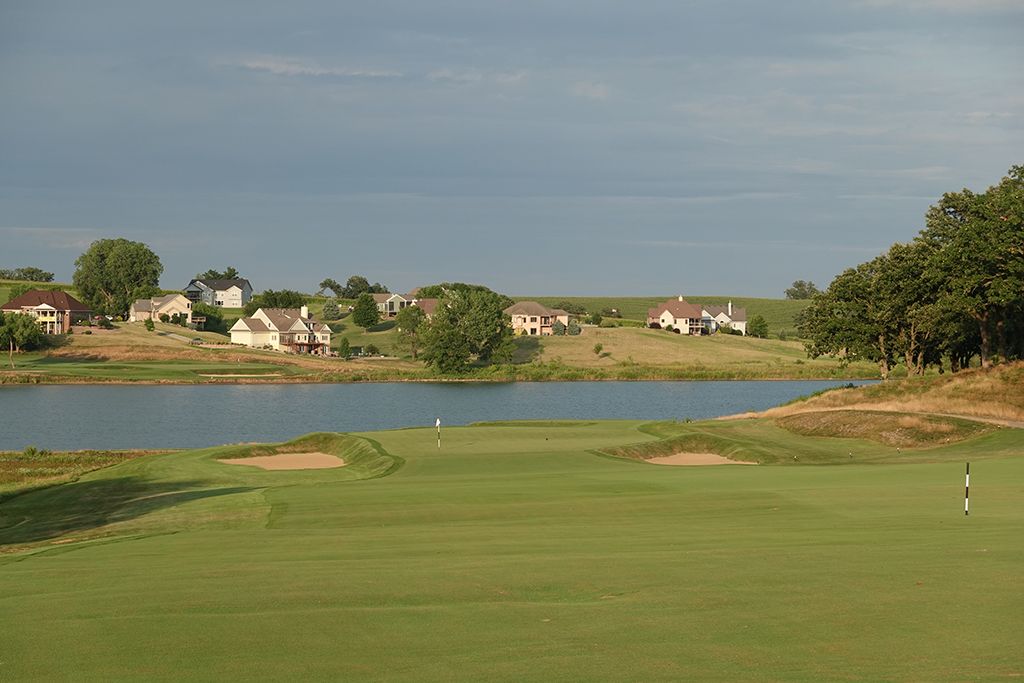
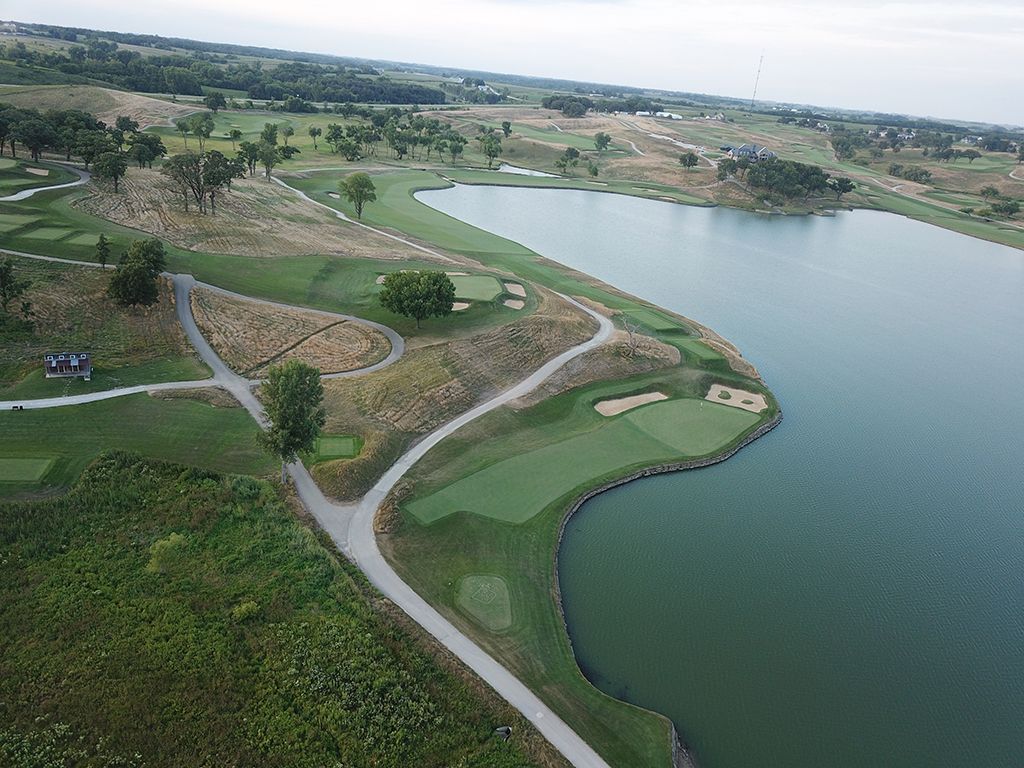
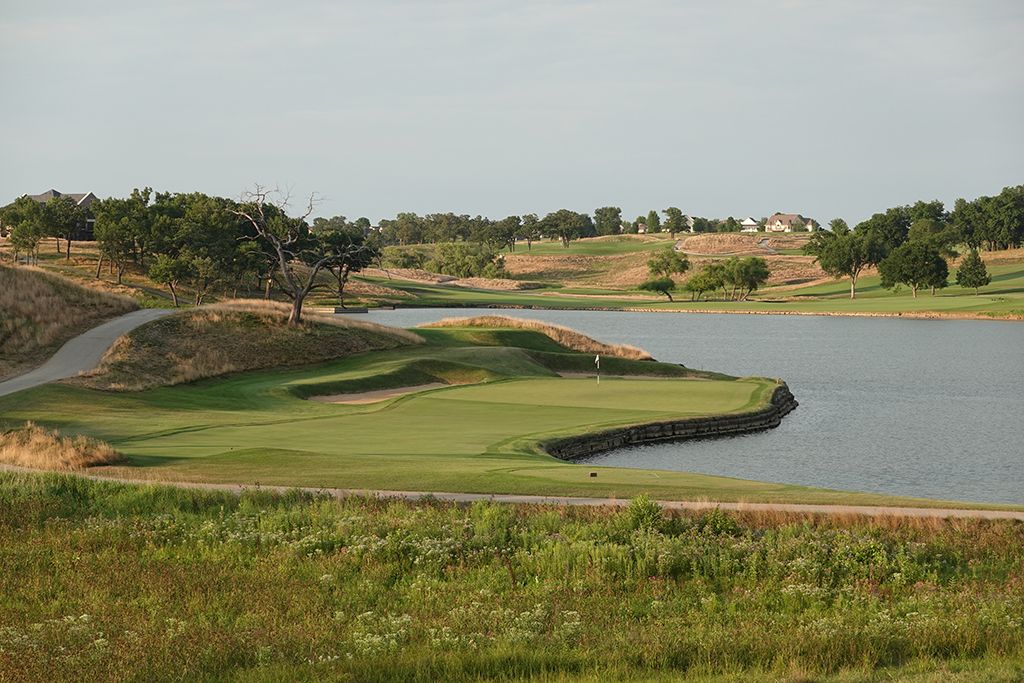
Best Par 3: 3rd Hole – 202 Yards – After the ascension up the 2nd hole, players are presented with an attractive downhill hole that plays to a peninsula green with long and left being the only place you can safely avoid the water if you miss the putting surface. A triangular bunker sits on the left side of the green and presents the dreaded sand shot with water awaiting behind the green if you find yourself there, but it is better to find yourself in the sand than the agua. This is an exciting tee shot to hit and shows early on just how much movement is in the land at The Harvester.
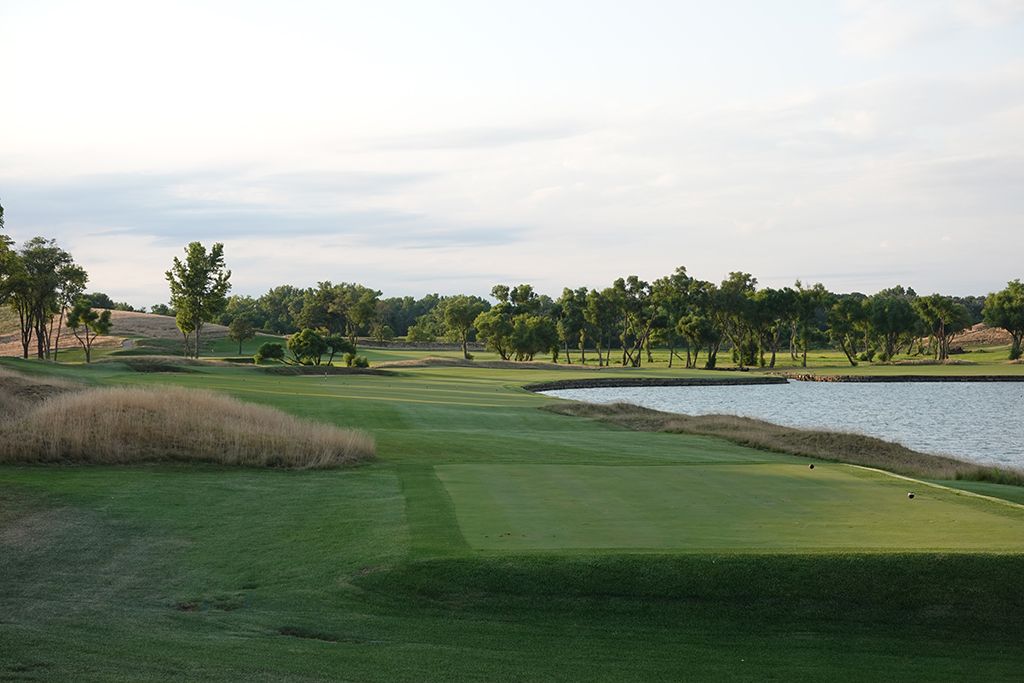
Best Par 4: 16th Hole – 521 Yards – When I stepped onto the 16th tee at Harvester I had a flashback to standing on the 17th at New York's famed National Golf Links of America layout. The 17th at NGLA plays much shorter, but it features a similar look and slope down to the green with a body of water providing the backdrop. At Harvester you'll need to string a pair of back to back quality shots to reach this green in regulation, but the downhill terrain will cut a good 50 yards off the hole. A pair of bunkers flank the fairway 275 yards out so it is best to favor the right side off the tee before lining up your approach shot to a slightly elevated plateau green with sand on each side. You can run one up the face but will have to properly judge the false front that wants to repel shots back. The back to back downhill shots to a challenging green with an infinity edge to the water makes the 16th a memorable hole to take on late in the round.

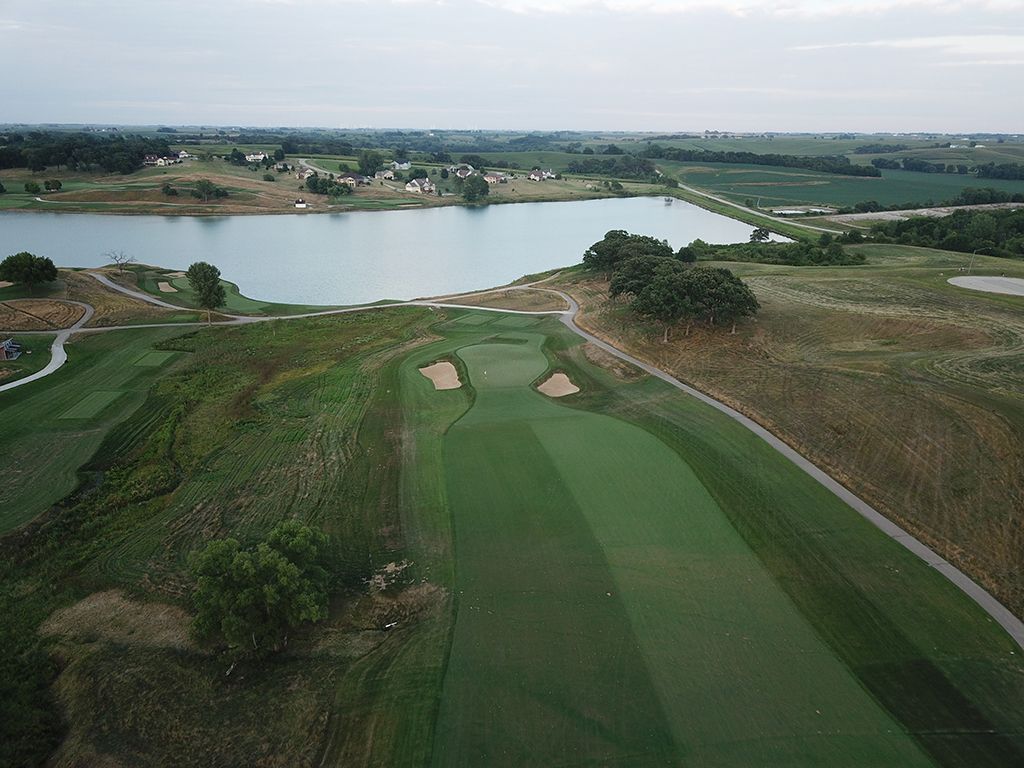
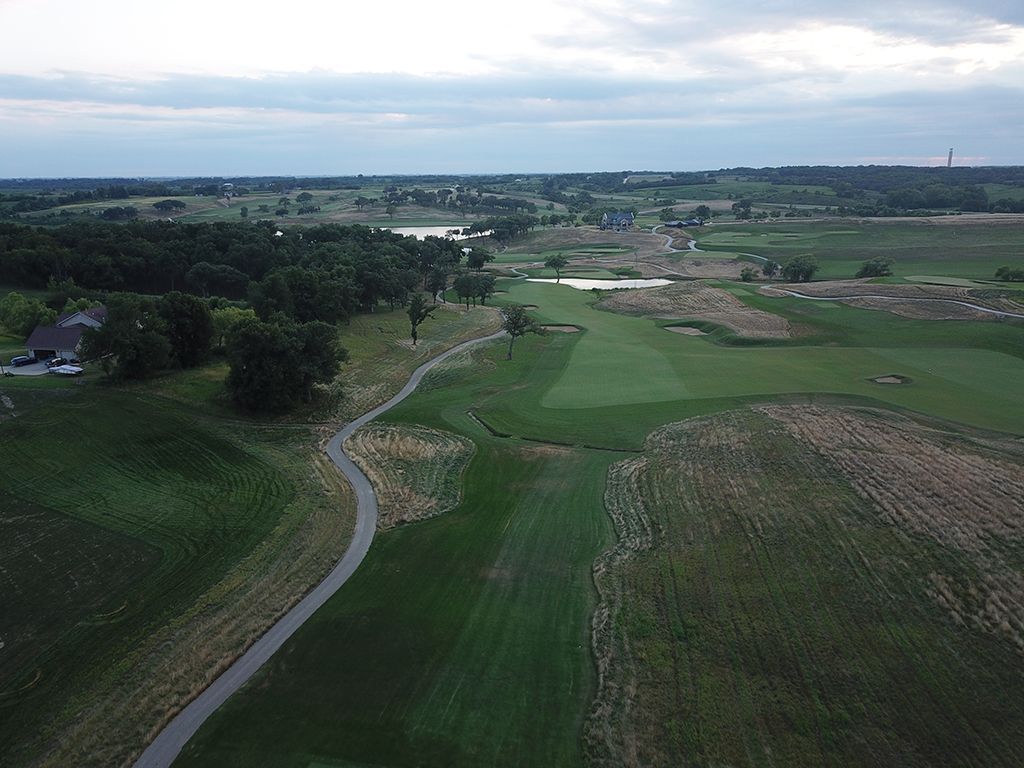
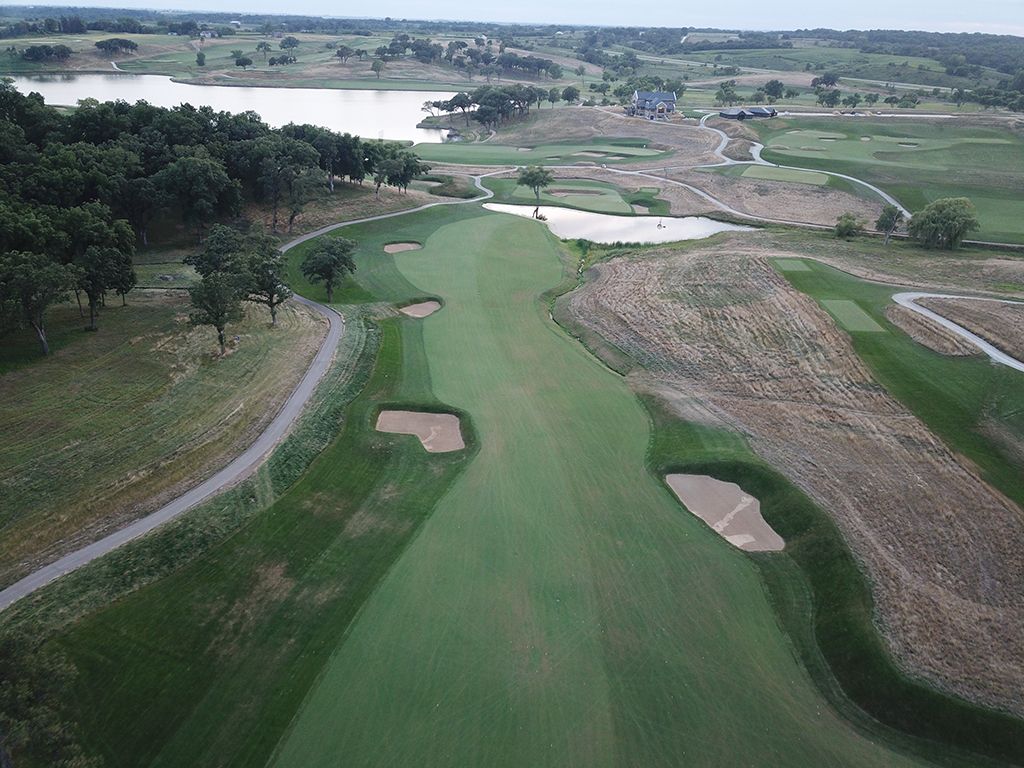
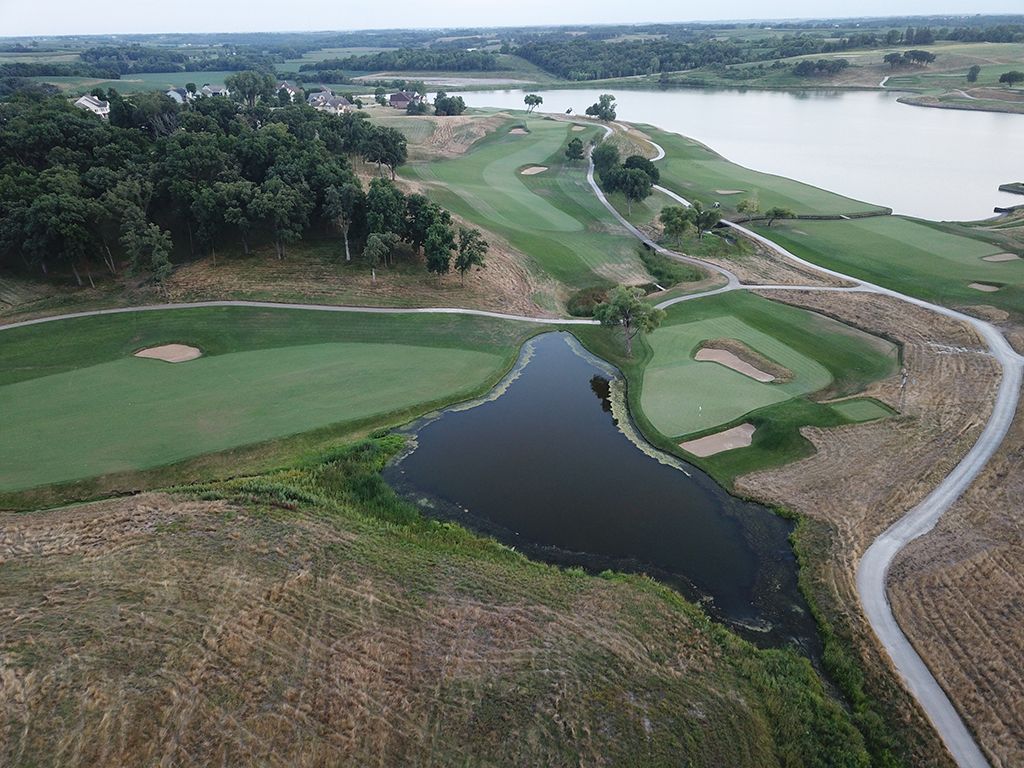
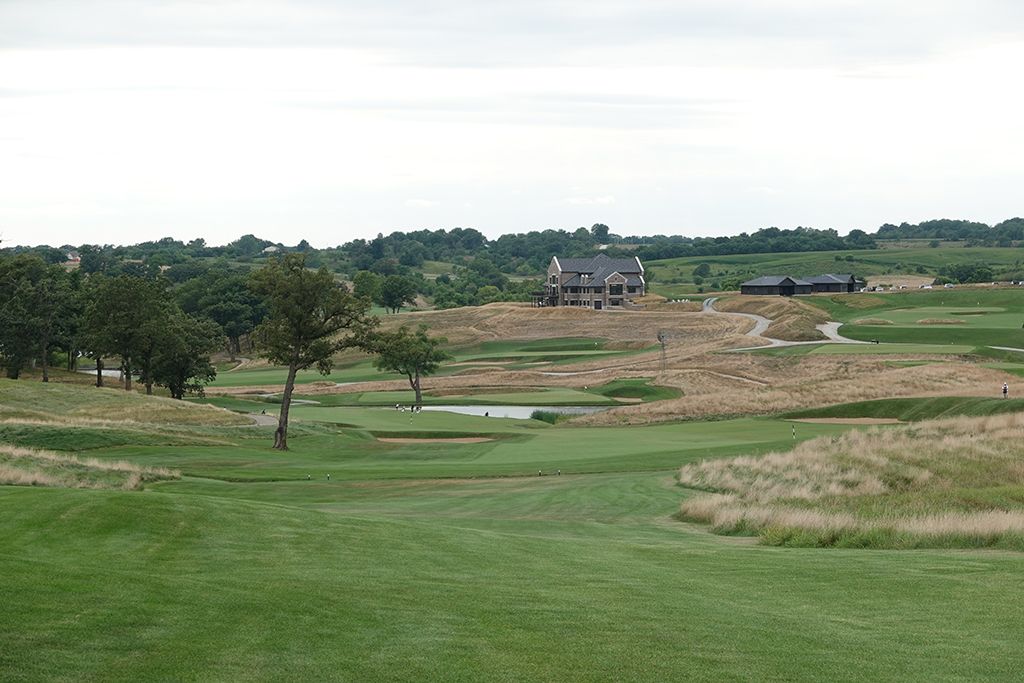
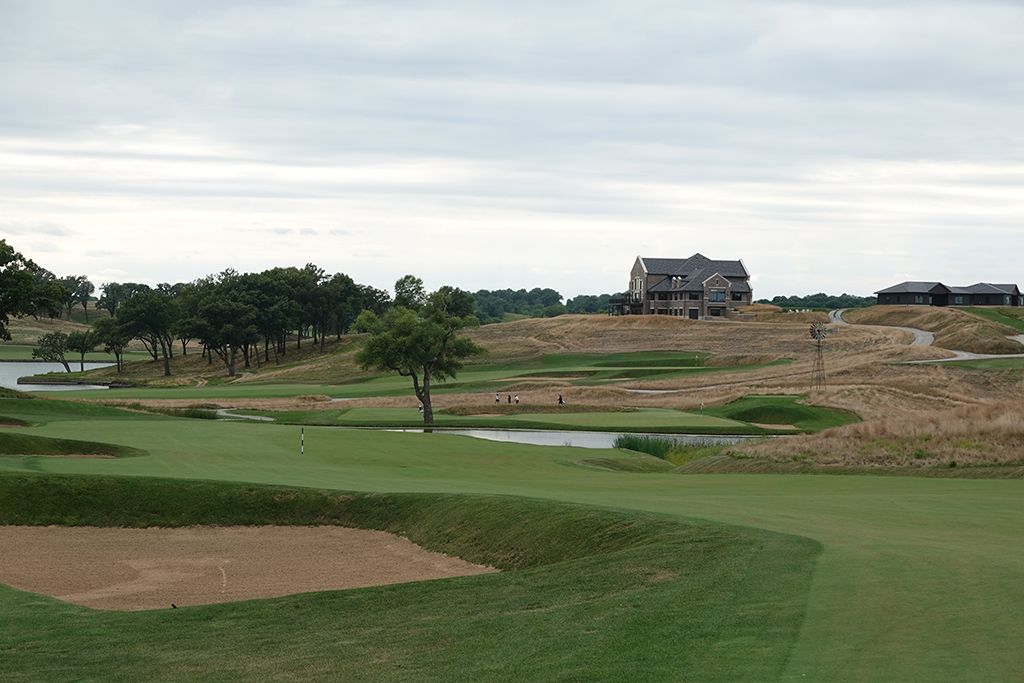
Best Par 5: 6th Hole – 561 Yards – A compelling risk/reward hole, the 6th is just tempting enough to get some players in trouble while others celebrate. The hole plays downhill the entire way to the green and makes this more reachable than the distance shows on the scorecard. Players that successfully find the fairway will be faced with the decision of whether to attack the green in two in hopes of avoiding the water fronting the putting surface, or whether to layup and take on the water at a more manageable distance. The downhill slope in the fairway doesn't make the approach shot a walk in the park, nor does the bunker behind the green and the other on the right. Ultimately though this is a great time to score, so get aggressive and see if you can walk off with a birdie here; you'll need the insurance on your card for future holes.
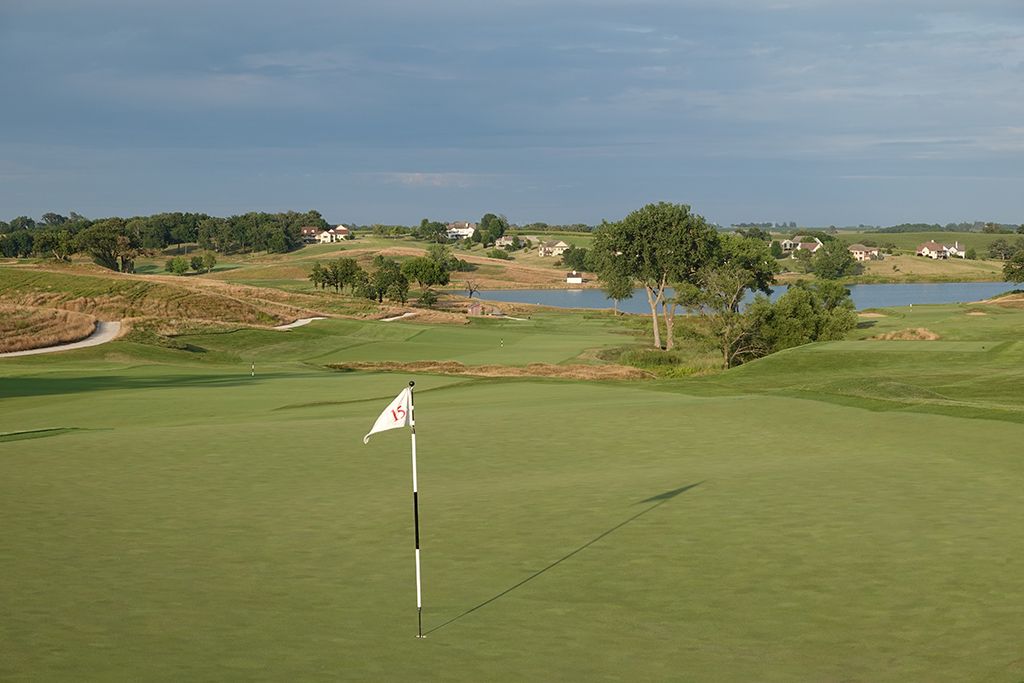
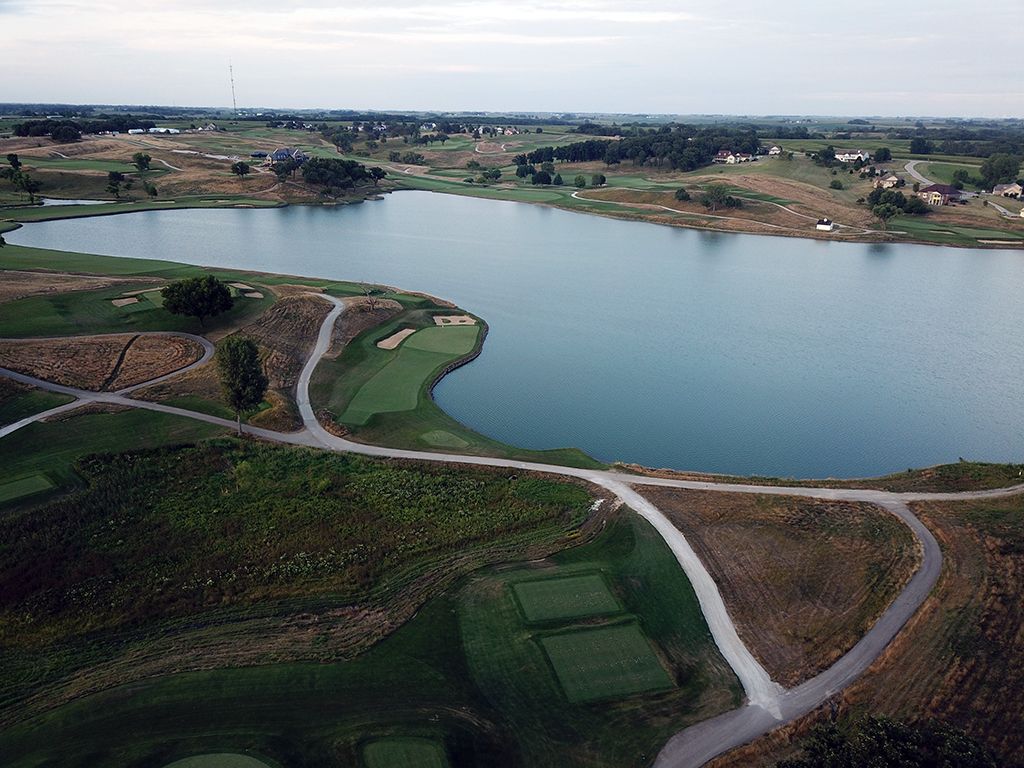
Birdie Time: 17th Hole – 188 Yard Par 3 – The final one-shotter on the course and in the middle of a fantastic closing stretch of holes, the 17th is a picturesque hole with bunkering framing the left and rear while Crab Tree Lake creates the setting on the right. Despite the surrounding trouble, a generous target is offered and an opportunity to go flag hunting. The green slopes towards the water so there is no need to go pinseeking on the right when you can hit it in the middle of the green and work the ball over to the hole; especially the front right corner. Take dead aim and have some fun here!
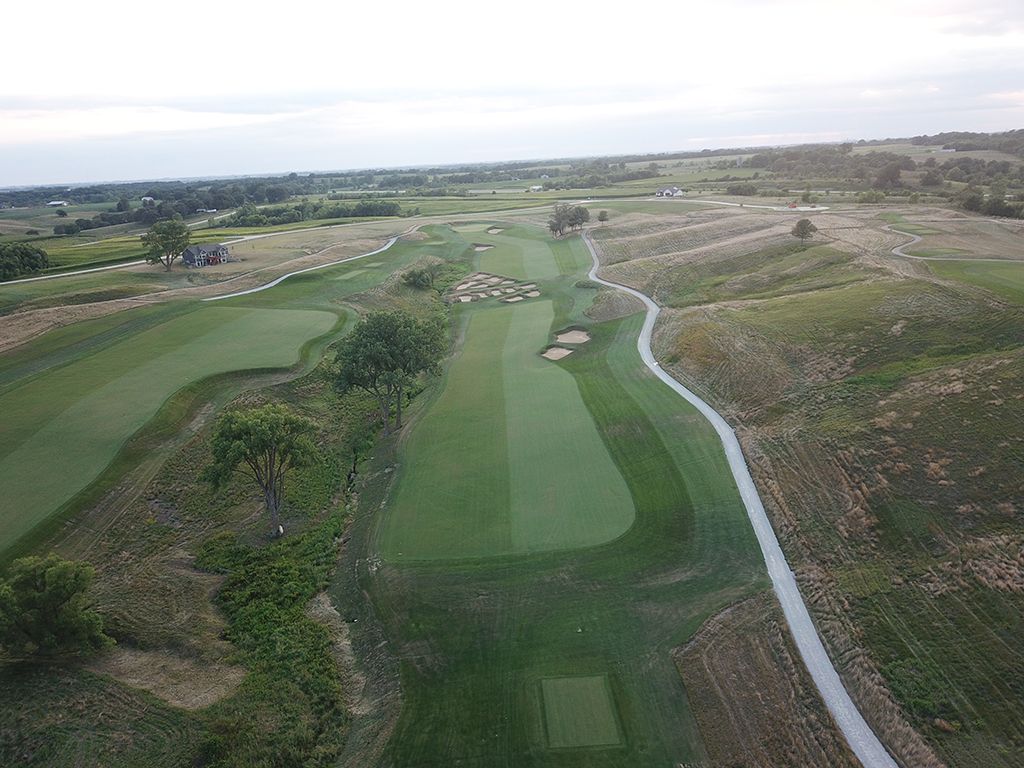
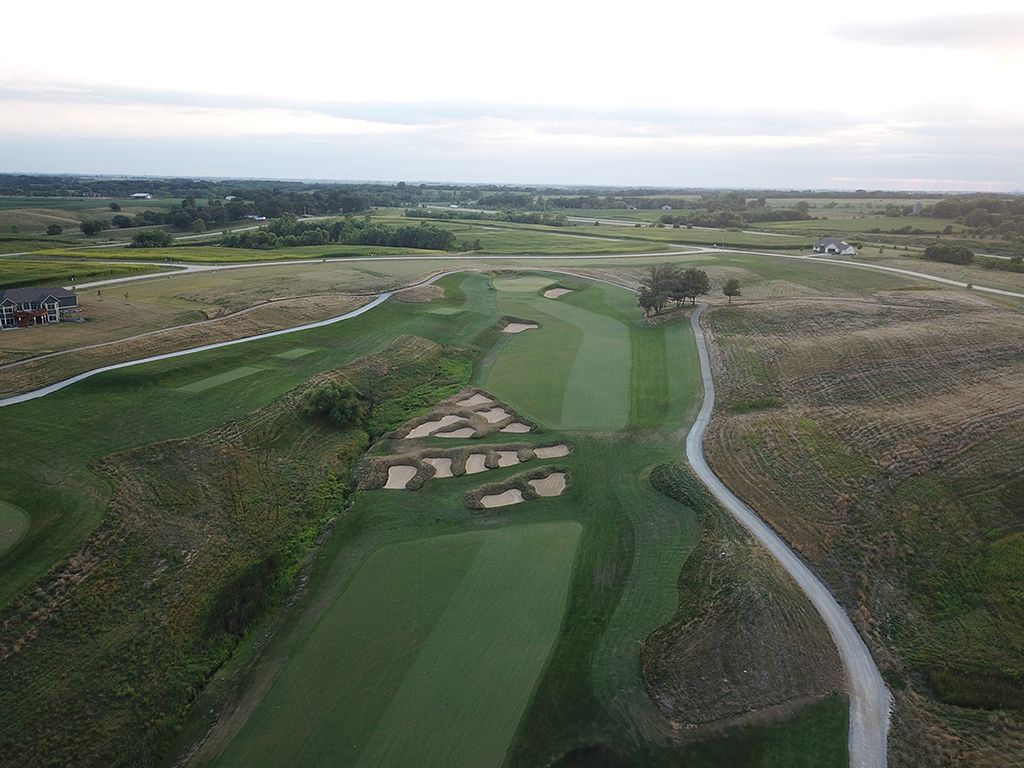
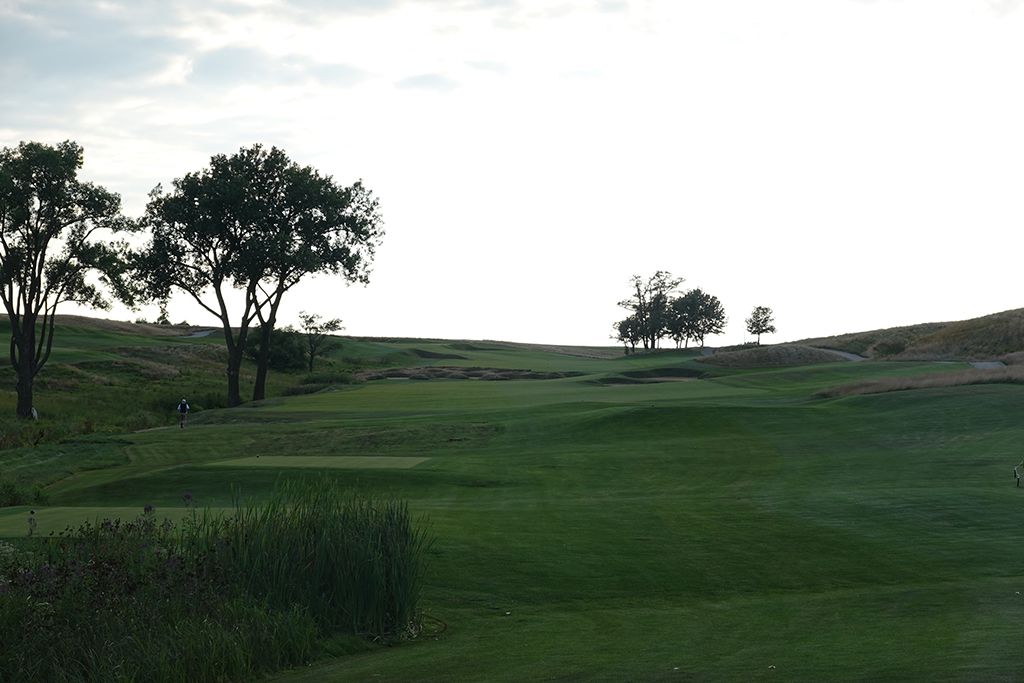
Bogey Beware: 15th Hole – 650 Yard Par 5 – Named "Big Hog", the 15th is an absolute beast. On the front nine players are able to enjoy the par five 6th that measures nearly 100 yards less than this hole and plays downhill, but this monster is a steady uphill climb the whole way home. The signature feature is the bunker complex that looks like the love child between Oakmont's pew bunkers and the hell's half acre bunker at Pine Valley. A total of 12 bunkers are found in the complex 200 yards from the green and acts as the biggest obstacle to contend with on the second shot where sand awaits to gobble up topped shots. Successfully clearing the "Hell Pew" bunker doesn't mean your work is done as an additional bunker lies in wait for balls that clear with too much fury and a final bunker flanks the right side of the green. It is just a long, brutal, uphill hole that offers one reprieve; a soft punchbowl edging around the putting surface that can help cradle balls back towards the flag. Par here will win a skin in most foursomes.